Recover LG Photos
How to Recover Lost Photos from LG Phones
When you’re reading this guide, you’ve probably lost some of your important data from Android phone and need to find out an effective way to recover them! As the more new data create on the device, the more chance that your deleted data will be overwritten by new data, which will lead the lower of your recovery chances. Once you find that you have lost precious photos on your Android phone, like LG, you had better stop using you phone and use a data recovery tool to restore your lost photos as soon as possible.
Android Data Recovery application is a photo recovery tool that can help you recover lost photos from your LG phone. It supports scan and find out deleted photos, videos, contacts, call logs and more from various brands of android devices, including LG, HTC, Huawei, Oppo, Vivo, Google, and so on. To find out your precious photos, you just need to connect your LG to the program on the computer, and let it automatic scan out your deleted data.
More Features About Android Data Recovery Software:
1. Preview data before recovery and selectively restore files which you want.2. More than 6000+ Android smartphones and tablets are supported.
3. One-click to backup and Restore Android Data.4. Provide the function for Samsung user to repair Android system problem like recovery stuck, black screen and more.
5. Read and recover Android data with 100% safety and quality. No personal info leaking.Now, let’s try the free trial version on the computer, and follow the steps to see how to recover deleted photos from LG phone with ease.
Steps to Undelete Photos from LG Phones
Step 1. Link LG phone to pc and enable usb debugging
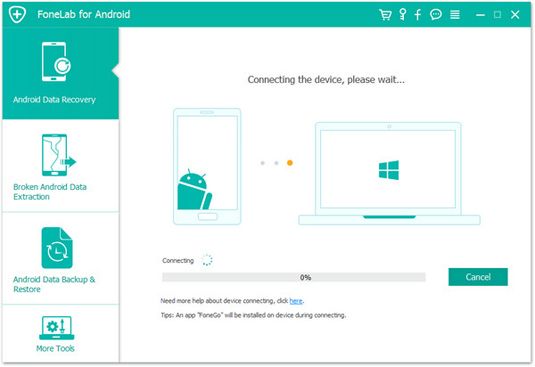
Run the Android data recovery program on your computer, then select "Android Data Recovery" option in the main windows. Connect your LG phone to the same pc with a usb cable, the software will detect your device immediately if you turn on usb debugging before.
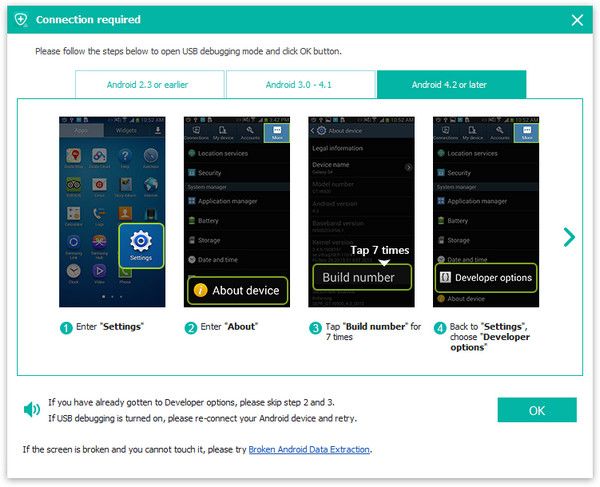
1. For Android 2.3 or earlier: Enter "Settings" < Click "Applications" < Click"Development" < Check "USB debugging".
2. For Android 3.0 to 4.1: Enter "Settings" < Click "Developer options" < Check "USB debugging".
3. For Android 4.2 or newer: Enter "Settings" < Click "About Phone" < Tap "Build number" for several times until getting a note "You are under developer mode" < Back to "Settings" < Click "Developer options" < Check "USB debugging".
Step 2. Select data type and root the phone
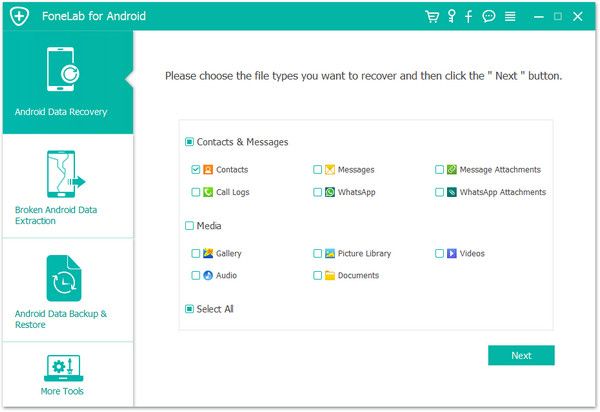
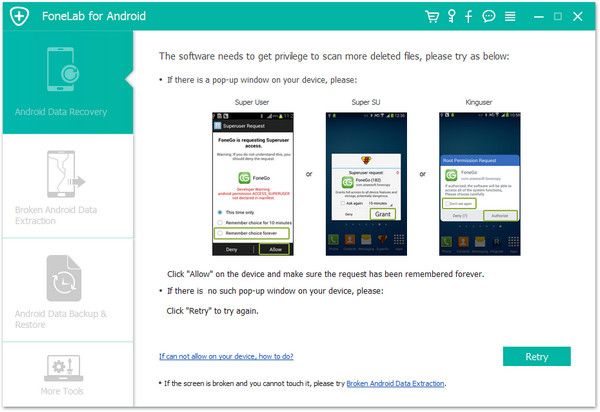
Now you need to tick data type "Gallery" and "Picture Library", untick other data type, then click "Start Scan" to continue.
Step 3. View and restore lost pictures
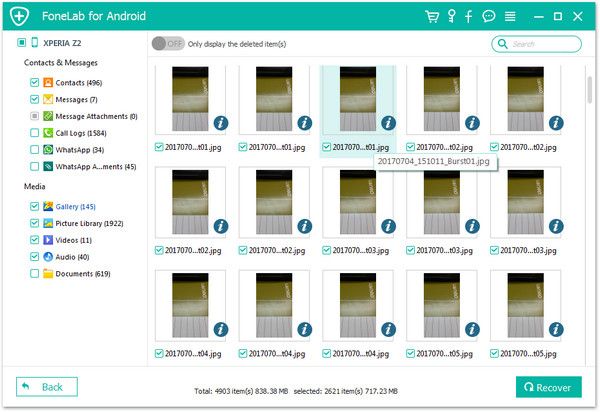
After scanning, you will see all data type you choose on the left panel, you can click "Gallery" and "Picture Library" to view all photos in detail on the right side, including deleted and existing images, you can tap "Only display the deleted item(s)" button to only show the deleted photos, then tick all photos you need and click "Recover" button to export them to the computer for use.
