Recover Android Gallery/Picture Library
How to Recover Gallery/Picture Library from Android Phones
When you enjoy the fun of taking photos with your Android phone, you may also have the trouble of accidentally losing photos in it. When you press the wrong button on your Android phone, you may lose some of your precious photos, as well as other data. Unfortunately, deleting useful contents from Android phone seems a very common problem for Android users. But there are many third-party data recovery applications allow you recover your deleted data from Android directly.
If you are looking for a safe and effective photo recovery software, I recommend you use Android Data Recovery application. It perfectly works for HTC, LG, Samsung, Huawei, Vivo, Oppo, ZTE, Google, and much more brands of Android phones. Your lost data can be recovered because when when you deleted a file on your device, the space of the deleted data will marked as unused, and it will covered by the new data. With the help of Android Data Recovery, you are able to find out the lost photos, videos, contacts, call logs and more from your Android directly.
More Features About Android Data Recovery Software:
1. Preview data before recovery and selectively restore files which you want.2. More than 6000+ Android smartphones and tablets are supported.
3. One-click to backup and Restore Android Data.4. Provide the function for Samsung user to repair Android system problem like recovery stuck, black screen and more.
5. Read and recover Android data with 100% safety and quality. No personal info leaking.Now, let’s follow the steps to recover lost photos from Android phone. To begin with, download and install the free trial version of Android Data Recovery application on the computer by clicking the icon as below.
Steps to Undelete Gallery/Picture Library on Android Smartphone
Step 1. Link Android phone to pc and enable usb debugging
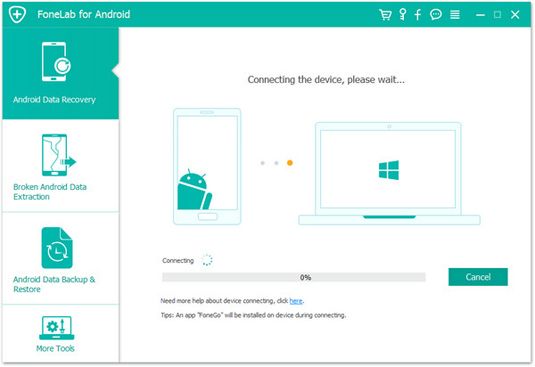
Launch the Android data recovery program on your computer and choose "Android Data Recovery" option. Connect your Android phone to the same PC with a usb cable, you will see the below windows.
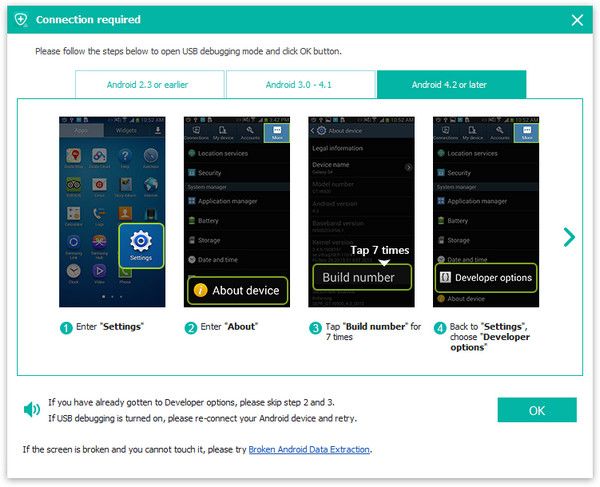
1. For Android 2.3 or earlier: Enter "Settings" < Click "Applications" < Click"Development" < Check "USB debugging".
2. For Android 3.0 to 4.1: Enter "Settings" < Click "Developer options" < Check "USB debugging".
3. For Android 4.2 or newer: Enter "Settings" < Click "About Phone" < Tap "Build number" for several times until getting a note "You are under developer mode" < Back to "Settings" < Click "Developer options" < Check "USB debugging".
Step 2. Select data type and analysis the phone
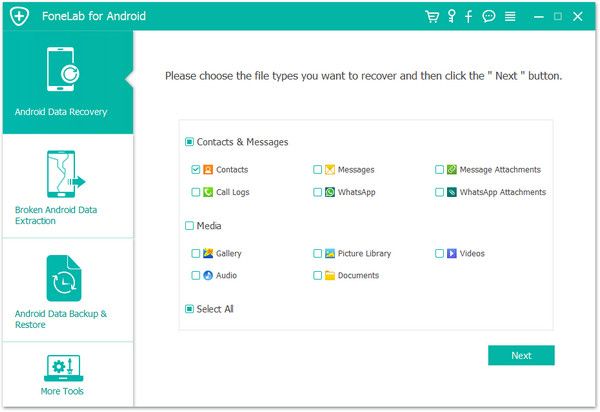
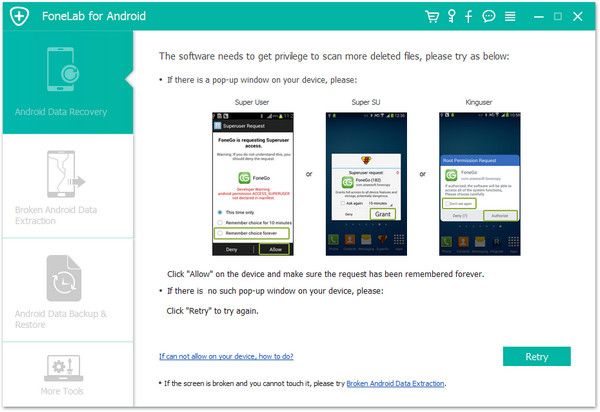
Now we only choose the data type we want to scan, it will spend less time to scan the phone, here we can tick data type "Gallery" and "Picture Library", untick other data type, then click "Start Scan" to move on.
Step 3. Preview and recover pictures
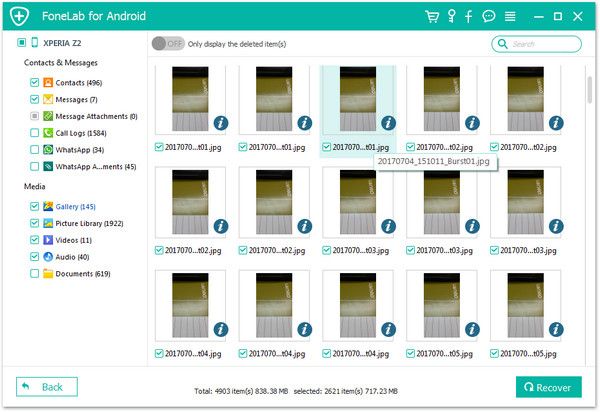
The Android data recovery program will dig deep inside your device for Gallery/Picture Library. You can click category "Gallery" and "Picture Library" on the left panel and view photos in detail on the right side of scan result, you can switch "Only display the deleted item(s)" to show the deleted pictures, check the box below the thumbnail and click on the "Recover" button, choose a destination folder to save them to computer.
