Recover OnePlus Call Logs
How to Recover Lost Call History from OnePlus Phones
With the increase of mobile phone memory, we rarely delete call records regularly now. But sometimes you may lost the data from OnePlus due to different factors, such as accidental deletion, device broken, and more. Do you often use mobile contacts to communicate with others, like make phone calls? If you did not save the phone contacts but you deleted the call history by mistake, whether you know how to restore them back?
In some cases, you need to check the previous call history on your OnePlus, but find that the history is already deleted, is there a way to view them? The answer is Yes! With the help of Android Data Recovery, you are able to scan and recover deleted data from Android phones and tablets, including photos, videos, apps, text messages, call history and more. It can one-click to backup and restore Android data. And it provide the function for Samsung user to repair Android system problem like recovery stuck, black screen and more.
To recover lost call history from OnePlus directly, you firstly need to download and install Android Data Recovery on your computer. Both free trial version of Windows and Mac version are available. Then allow the program enter and scan out the deleted data for you.Steps to Get Back Lost Call History from OnePlus Phone
Step 1. Run the program and connect the phone
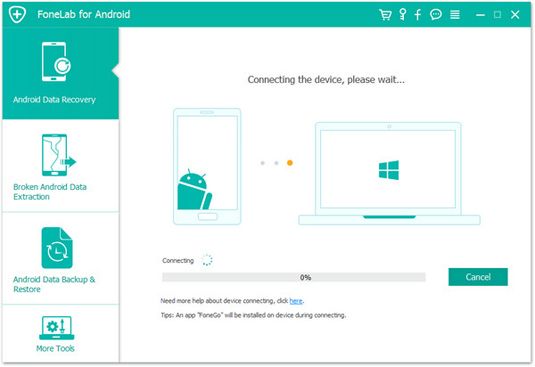
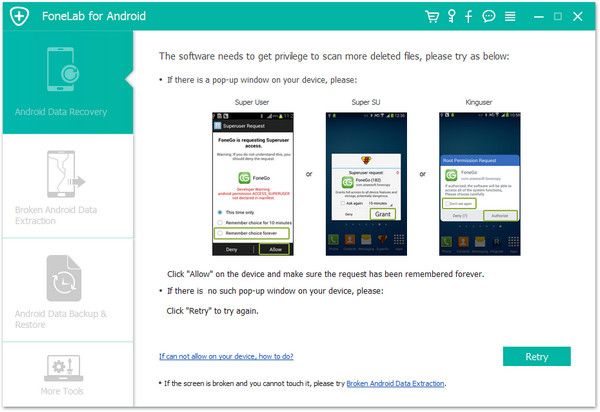
First, launch the Android data recovery program on computer, you will see several options, tap "Android Data Recovery", then link your OnePlus device to the same PC with a usb cable, the software will detect phone after you turn on usb debugging, then it will go to next steps. Else the software will prompt the steps to open usb debugging.

Step 2. Choose data type to scan
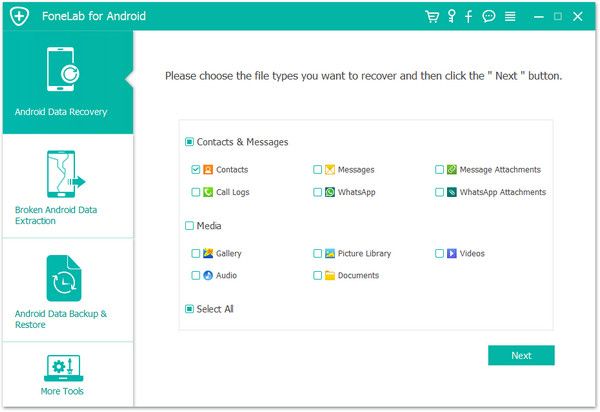
In the new windows, you can see many data type like photos, audios, contacts, text messages and more, tick "Call Logs" and untick other data type, then click "Next" to go on.


Step 3. Restore calls for you
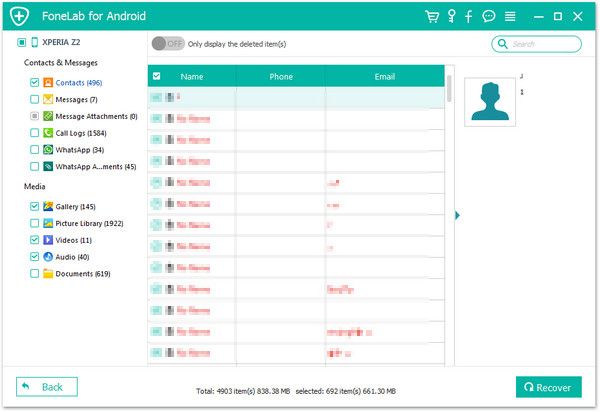
When the scan is over, you can see all call logs in the scan result, switch "Only display the deleted item(s)" to show the deleted items, mark all calls you need and click "Recover" button, save them to computer after you choose a destination folder.


